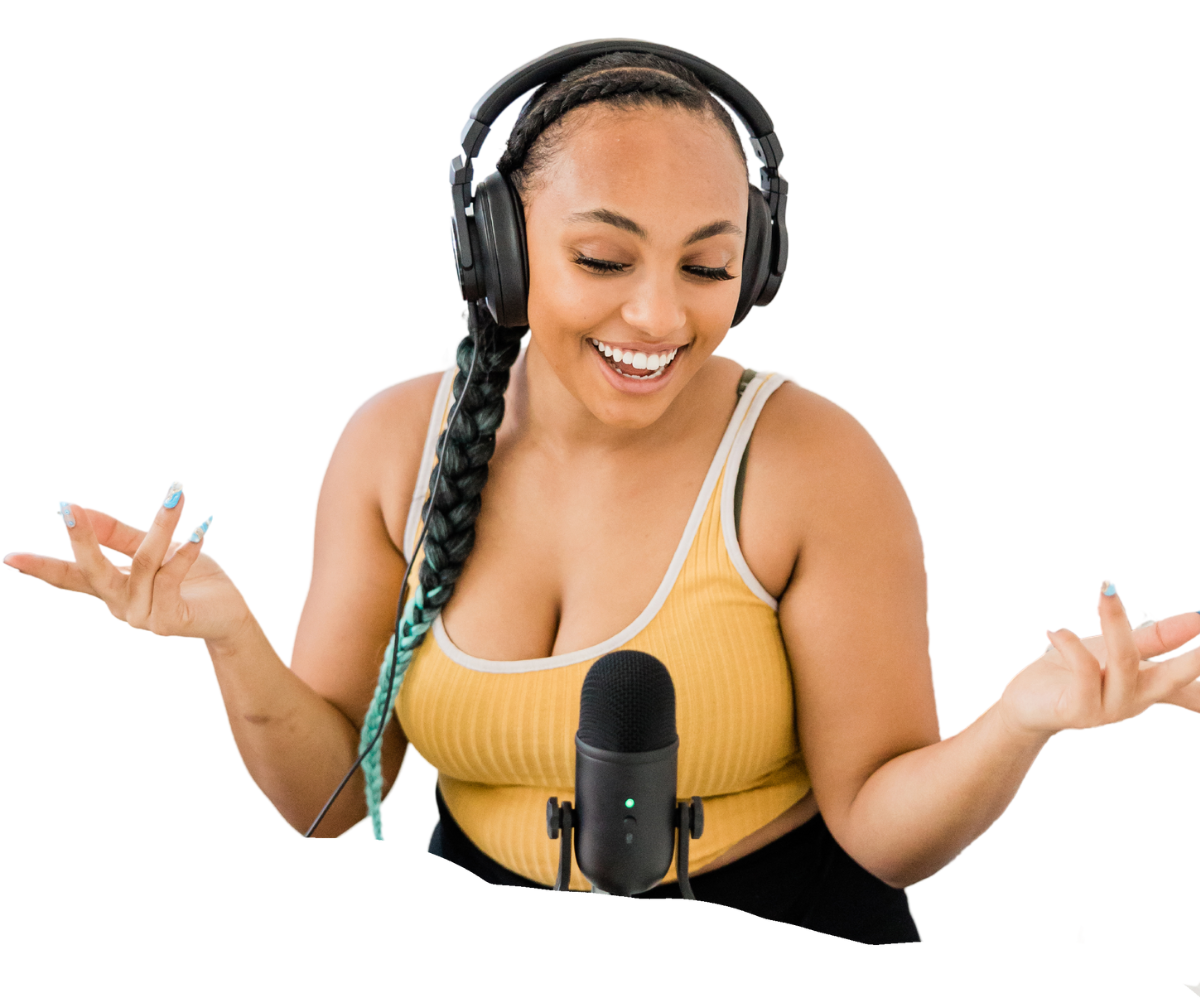
Fast-Track Your
Podcast to ProfitWith Podcast Profit Accelerator
Our team will help you develop a paid ad strategy and connect you with sponsorship opportunities, so you can focus on what you do best—creating impactful content.
Technical Support
For technical assistance, equipment issues, or supply shortages, please reach out to one of the tech team members listed below.
FAQ
This FAQ section is to help you set up and get the most out of the media rooms for podcasting and video production. Please follow these instructions carefully to ensure the best quality recordings.
- Studio Preparation Checklist
- Media Studio 1 Setup
- Media Studio 2 Setup
- Studio Recording Procedures
- Troubleshooting and Technical Support
Media Room Preparation Checklist
The following is a checklist of considerations in order to ensure a smooth and successful recording session.
General Preparation
- Book the media room in advance
- Familiarize yourself with the Media Training Room SOP document
- Prepare your content outline or script
- Be sure all participants are aware of the time date and location of the recording.
Equipment to Bring
- USB-C compatible external hard drive (formatted as exFAT) for ATEM Mini Pro ISO
- Headphones for audio monitoring (if needed)
- Laptop or tablet for script reference (if needed)
- Portable power bank for personal devices (if needed)
Props and Visual Elements
- Branded mugs or water bottles (no glass containers)
- Small, non-distracting decorative items (e.g., plants, books) for background depth
- Branded backdrop or banner for consistent branding
- Visual aids relevant to your content (e.g., charts, graphs, physical objects)
- Small whiteboard or flipchart for impromptu explanations
- Themed props related to your podcast or video topic
- Name plates or graphics for lower thirds
- Tablet or second screen for visual references or guest communication
Room Setup
- Adjust table height to 30 inches or as needed
- Position chairs appropriately for the number of participants
- Set up additional props and visual elements
- Connect your external hard drive to the ATEM Mini Pro ISO
Technical Setup
- Power on equipment in the correct order: Cameras, Lights, Audio Interface (RØDECaster Pro II or Duo), ATEM Mini Pro, Computer
- Perform a sound check for each microphone
- Adjust microphone placement (6-8 inches from speakers)
- Set initial input gain to 50% and adjust as needed
- Check camera framing and focus
- Verify video feeds on the ATEM Mini Pro ISO
- Ensure proper lighting and adjust to eliminate harsh shadows
Software and Recording
Note: Streaming and Recording simultaneously is not possible using the Atem Mini Pro ISO
- Open necessary recording/streaming software on the computer
- Select appropriate audio and video inputs in the software
- Set up any required video transitions or graphics
- Prepare lower thirds or name tags for participants
- Test record for 30 seconds and review the output
Before Recording
- Silence all mobile devices
- Ensure all participants are comfortable and properly positioned
- Double-check that the external hard drive is recognized and recording
- Verify that audio levels are peaking around -12dB
- Conduct a final equipment check
After Recording
- Stop all recordings and save files
- Check that files are properly saved on the external hard drive
- Power down all equipment in reverse order of setup
- Return microphones, boom arms, and other equipment to original positions
- Adjust the table back to its default height
- Ensure all cables are neatly coiled and stored
- Remove any personal items, props, or signage
- Leave the room clean and organized for the next session
Additional Notes
- Report any equipment issues or supply shortages to the technical supervisor
- Always handle equipment with care
- Follow proper cable management practices
For any technical assistance, contact:
- Tyler Lewis: tylerl@rtl-networks.com
- Kris Kraven: KCraven@rtl-networks.com
- Kibwe Cooper: Kibwe@streamlinedpodcasts.com
Best Practices
- Always perform a sound check before recording.
- Use headphones to monitor audio quality.
- Adjust microphone placement 6-8 inches from speakers.
- Set initial input gain to 50% and adjust as needed.
- Aim for audio peaks around -12dB.
- Ensure proper camera framing and focus.
- Fine-tune lighting to eliminate harsh shadows.
- Always stop recording before disconnecting any devices.
- Regularly back up recordings to prevent data loss.
- Leave the room clean and organized after use.
Equipment Checklist
- 2 BlackMagic Design Micro Studio Camera 4K G2
- RØDECaster Duo
- ATEM Mini Pro ISO
- 2 Shure MV7 microphones
- 2 Elgato boom arms
- Adjustable height table
- 3 LED Lights
- 2 tall chairs
- Desktop Computer
Setup Procedure
- Adjust table height to 30 inches or as needed.
- Position chairs at the table.
- Attach boom arms and mount Shure MV7 microphones.
- Set up cameras on tripods.
- Arrange LED lights in a triangle formation.
- Connect microphones to the RØDECaster Duo.
- Connect cameras to the ATEM Mini Pro.
- Connect ATEM Mini Pro and RØDECaster Duo to the computer.
Media Room 1 - Webcam Setup with USB Microphone
Equipment Needed:
- Shure MV7 microphone
- USB-A to USB-C cable (for MV7)
- BlackMagic Design Micro Studio Camera 4K G2
- HDMI to USB capture device (e.g., Elgato Cam Link 4K)
- HDMI cable
- Laptop with USB-A and USB-C ports
Software and Drivers Required:
- Shure MOTIV desktop application (for MV7 configuration)
- BlackMagic Design Camera Setup (for camera firmware updates)
- BlackMagic Design Desktop Video (for capture device drivers)
- OBS Studio or similar streaming/recording software (optional)
- Elgato Cam Link 4K drivers (if using this specific capture device)
- Updated USB drivers for your laptop's operating system
Setup Procedure:
a) Shure MV7 USB Microphone Setup:
- Connect the MV7 to your laptop using the USB-A to USB-C cable.
- Download and install the Shure MOTIV desktop application from the Shure website.
- Open the Shure MOTIV app and select the MV7 as your input device.
- Adjust microphone settings (gain, monitor mix, EQ) as needed.
- In your laptop's sound settings, select "Shure MV7" as the input device.
b) BlackMagic Design Micro Studio Camera 4K G2 Webcam Setup:
- Connect the camera to a power source.
- Connect the HDMI output of the camera to the HDMI input of the capture device.
- Connect the capture device to your laptop using a USB cable.
- Download and install BlackMagic Design Desktop Video from the BlackMagic Design website.
- If using the Elgato Cam Link 4K, download and install its drivers from the Elgato website.
- In your laptop's video settings or preferred video application, select the capture device as the video input.
c) Software Configuration:
- For video calls (Zoom, Teams, etc.): Select the capture device as your camera and the Shure MV7 as your microphone in the application's audio/video settings.
- For streaming/recording: In OBS Studio, add the capture device as a Video Capture Device source and the Shure MV7 as an Audio Input Capture source.
d) Best Practices:
- Ensure all firmware is up to date for both the microphone and camera using their respective software.
- Use a USB 3.0 port for the capture device to ensure the best video quality.
- Monitor audio levels to avoid clipping or distortion.
- Position the camera at eye level for the most flattering angle.
- Regularly check for driver and software updates to ensure optimal performance.
Additional Notes
- Report any equipment issues or supply shortages to the technical supervisor
- Always handle equipment with care
- Follow proper cable management practices
For any technical assistance, contact:
- Tyler Lewis: tylerl@rtl-networks.com
- Kris Kraven: KCraven@rtl-networks.com
- Kibwe Cooper: Kibwe@streamlinedpodcasts.com
Best Practices
- Always perform a sound check before recording.
- Use headphones to monitor audio quality.
- Adjust microphone placement 6-8 inches from speakers.
- Set initial input gain to 50% and adjust as needed.
- Aim for audio peaks around -12dB.
- Ensure proper camera framing and focus.
- Fine-tune lighting to eliminate harsh shadows.
- Always stop recording before disconnecting any devices.
- Regularly back up recordings to prevent data loss.
- Leave the room clean and organized after use.
Equipment Checklist
- 4 Shure SM7B microphones
- 3 BlackMagic Design 4K + G2 Cameras
- 3 LED lights
- RØDECaster Pro II
- ATEM Mini Pro ISO
- 4 Elgato boom arms
- Desktop computer
- 4 Chairs
- 1 Oval Table
Setup Procedure
- Arrange furniture for 2-4 participants.
- Attach boom arms and mount Shure SM7B microphones.
- Set up cameras on tripods.
- Adjust LED lights brightness and angle to highlight the subject/speaker.
- Connect microphones to the RØDECaster Pro II.
- Connect cameras to the ATEM Mini Pro.
- Connect ATEM Mini Pro and RØDECaster Pro II to the computer.
Additional Notes
- Report any equipment issues or supply shortages to the technical supervisor
- Always handle equipment with care
- Follow proper cable management practices
For any technical assistance, contact:
- Tyler Lewis: tylerl@rtl-networks.com
- Kris Kraven: KCraven@rtl-networks.com
- Kibwe Cooper: Kibwe@streamlinedpodcasts.com
Recording Procedures:
- RØDECaster Pro II
- RØDECaster Duo
- ATEM Mini Pro ISO
RØDECaster Pro II
Recording to microSD Card:
- Insert microSD card into the back slot.
- Go to Settings > Storage and select microSD card.
- Press red Record button to start/stop recording.
Recording to Computer:
- Connect via USB-C cable.
- Go to Settings > Audio > USB and select "Multitrack" mode.
- Open recording software on the computer.
- Select RØDECaster Pro II as input device.
- Use software controls to start/stop recording.
RØDECaster Duo
Recording to microSD Card:
- Insert microSD card into the back slot.
- Press Settings, navigate to Storage menu.
- Select microSD card as recording destination.
- Press red Record button to start/stop recording.
Recording to Computer:
- Connect via USB-C cable.
- Press Settings, go to Connections menu.
- Set USB Mode to "Multitrack" or "Stereo Mix".
- Open recording software on the computer.
- Select RØDECaster Duo as input device.
- Use software controls to start/stop recording.
ATEM Mini Pro ISO
Connecting External Hard Drive:
- Ensure hard drive is USB-C compatible and formatted (preferably exFAT).
- Connect hard drive to USB-C port on ATEM Mini Pro ISO.
- Press 'RECORD' button to check connection (solid red light indicates ready).
- Press 'RECORD' again to start recording (light will flash).
- Press 'RECORD' once more to stop recording.
Troubleshooting
- If audio isn't registering, check cable connections and input selections.
- For video issues, verify HDMI/SDI connections and ATEM Mini Pro settings.
- If recording to SD card fails, ensure it's properly formatted and has sufficient space.
- For computer recording issues, check USB connections and software input settings.
- If you encounter any persistent issues, contact technical support immediately.
Additional Notes
- Report any equipment issues or supply shortages to the technical supervisor
- Always handle equipment with care
- Follow proper cable management practices
For any technical assistance, contact:
- Tyler Lewis: tylerl@rtl-networks.com
- Kris Kraven: KCraven@rtl-networks.com
- Kibwe Cooper: Kibwe@streamlinedpodcasts.com
**Remember: Always handle equipment with care and report any problems to the technical supervisor. Enjoy your recording session!